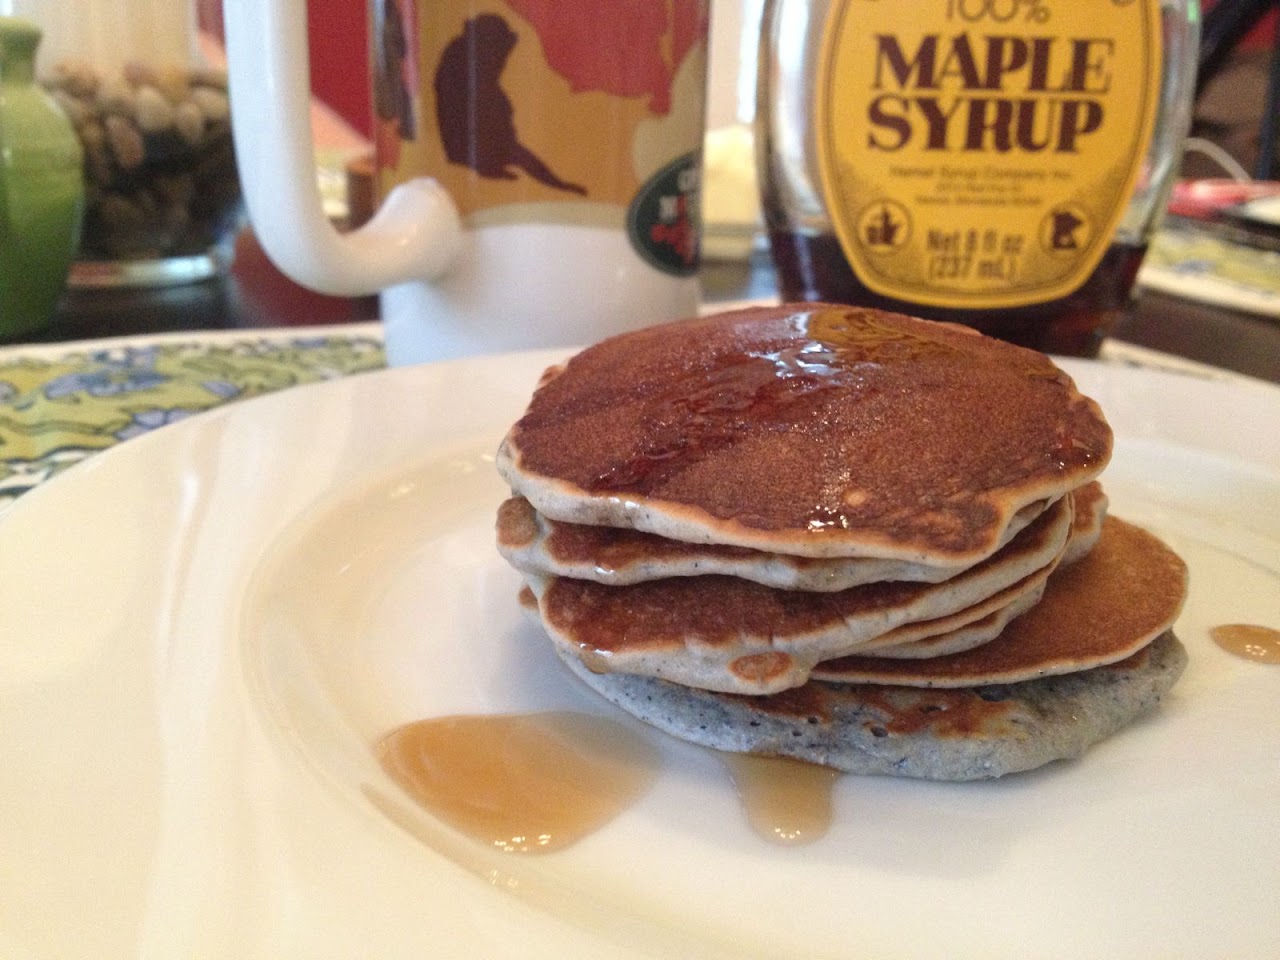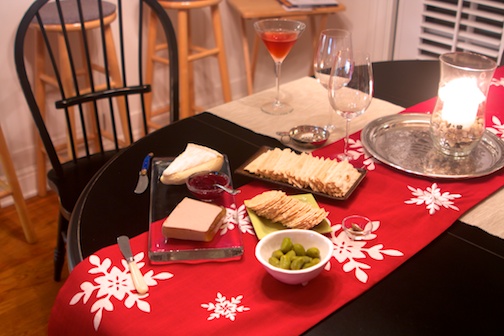
With record-breaking snowstorms back east, and some 35ºF mornings here…I’ve been in the mood for comfort food. Spaghetti and meatballs has not been a go-to meal for me…probably because I don’t like spaghetti. This, in and of itself seems silly…since pasta is pasta…but shapes make a rather large difference.
My problems with spaghetti start with the messy factor…I would like the sauce in my mouth and not splattered on my chin. Also…I think the pasta shape should mirror the shape of whatever else is in the dish…and meatballs do not look like spaghetti. Then there’s the fork issue…it seems like eating spaghetti with a fork should come with instructions like using chopsticks in a japanese restaurant – step 1: take a deep breath and prepare to stab your fork into the pile of innocent long thin noodles; step 2: Twist fork in circles with tines braced against the bottom of the dish until an appropriate bite-size amount of noodles are twirled around; step 3: Lift fork without noodles sliding, falling or unraveling off of the fork and insert into mouth; step 4: chew spaghetti and meatball bite and savor each delicious morsel…oh wait…you forgot the meatball. See? It’s complicated.
Let me simplify. Don’t use spaghetti when you are making spaghetti and meatballs!
I based this recipe loosely on Ina Garten’s Real Meatballs & Spaghetti from her Family Style cookbook. I halved the recipe for the meatballs as I only had 1 lb. of ground beef in the house, but made the full recipe for the sauce. I deem it a very successful recipe and know that it will become a favorite! (just my humble opinion) 🙂
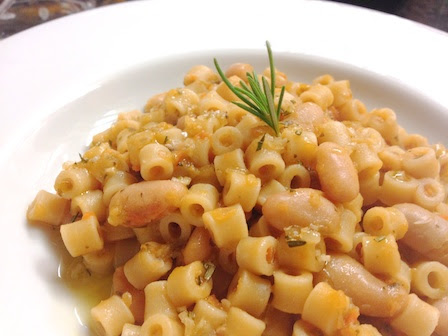
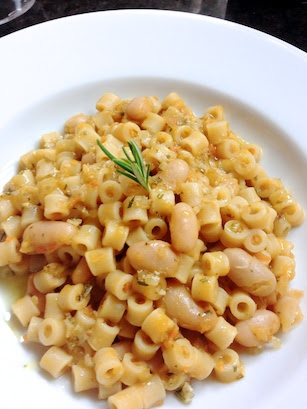
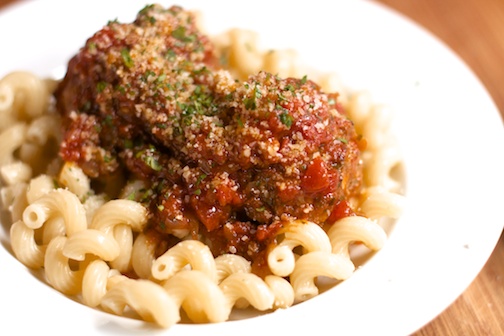
Italian Meatballs & Cavatappi
Makes 10 golf-ball-size meatballs
For the meatballs:
1 pound ground beef
2/3 cup panko breadcrumbs
2 tbsp. dry bread crumbs
1 tbsp. chopped fresh flat-leaf parsley
¼ cup freshly grated Parmesan cheese
1½-2 tbsp of whole milk
¼ cup of minced onion
1 large clove of garlic, minced
1 heavy tsp. of ketchup
1 tsp. kosher salt
½ tsp. freshly ground black pepper
1 pinch ground nutmeg
1 large egg, beaten
¼ cup of warm water
Vegetable oil
Olive oil
For the sauce:
1 tablespoon good olive oil
½ cup chopped onion
1 large shallot, chopped
1½ tsp. minced garlic
½ cup good red wine, such as Chianti
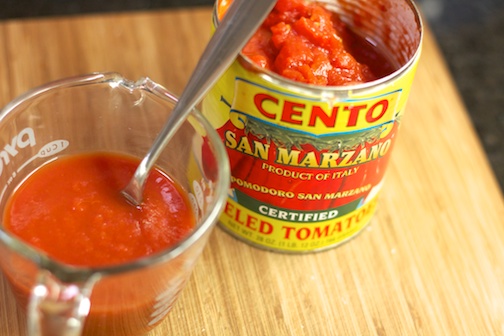
1 (28-ounce) can crushed tomatoes, or plum tomatoes in puree, chopped
1 tbsp. chopped fresh flat-leaf parsley
1 tsp. of dried Italian herbs (like Penzey’s)
dash of Worcestershire sauce
1 1/2 tsps. kosher salt
1/2 tsp. freshly ground black pepper
Preheat the oven to 400° F.
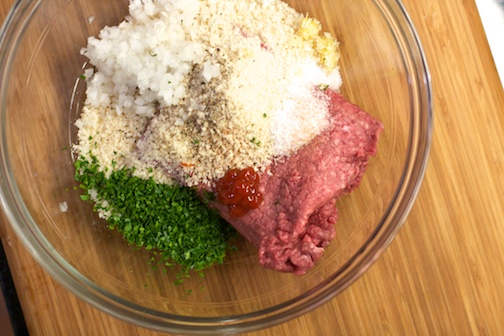
Put the beef, breadcrumbs, parsley, parmesan, onion, garlic, ketchup into a bowl together. Beat the egg and add the 1/4 cup of water and beat together a bit more.
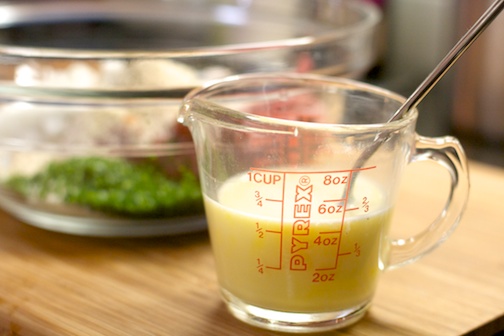
Pour the egg/water mixture over the top of the beef et al., and mix together with your hands. Mix gently and not for very long. Overworking the mixture will cause the meatballs to be tough. Once I get a sense of the consistency of the meat mixture, here’s where I decide how much of the milk I will add. I used about 2 tablespoons of whole milk. It’s a judgement call…not enough moisture or fat…and the meatballs will be dry…too much and they can fall apart or end up spongy. Roll the mixture into balls…size is up to you…I went with golf-ball size…assuming two meatballs per person for portion size.
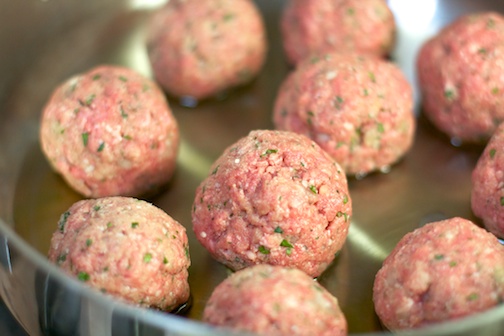
Heat olive and vegetable oil together in a pan on the stove top and place the meatballs in gently, making sure to not crowd them. It’s better to cook them in batches than to squeeze them all in. You want the meatballs to brown, not to steam.
Place the pan in the 400° oven for 25 minutes (less if they are smaller). After 25 minutes, pull them out and give each meatball a turn, turn the oven up to 450° and then put them back in to brown a bit more for about 5 minutes.
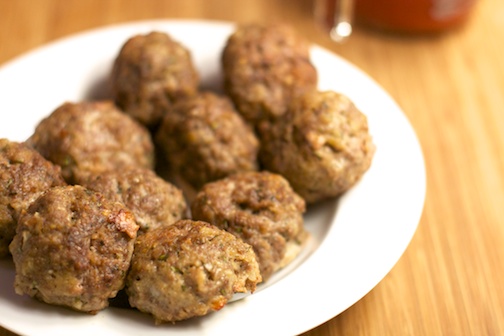
Once browned, remove them from the pan and set aside. Place the pan back on a burner…being highly aware that the pan is hotter than the sun…so don’t touch the handle! I like to rest a hotpad on the handle as a reminder since I have a (small) history of burning myself when I ought to know better!
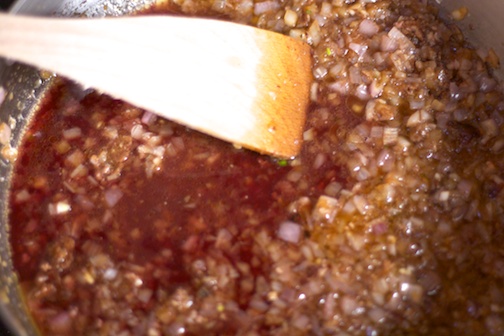
Now that you’ve got your pan back on the heat, pour in the tablespoon of olive oil and heat a bit before adding the chopped shallot and onion. Cook until the onion and shallot are translucent, probably about 5 minutes.
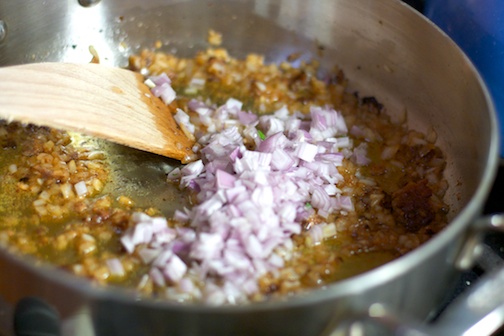
Add in the minced garlic and cook for another minute or so. While the onions were sautéing, I prepped my tomatoes. I had a can of whole peeled tomatoes and I wanted them chopped…so I pull them out, gave them a rough chop, making sure not to lose any of their juice and put them back in the can, ready for use.
Next pour in the wine and deglaze the pan, making sure to scrape up all the delicious bits stuck on the pan from the meatballs and the onions.
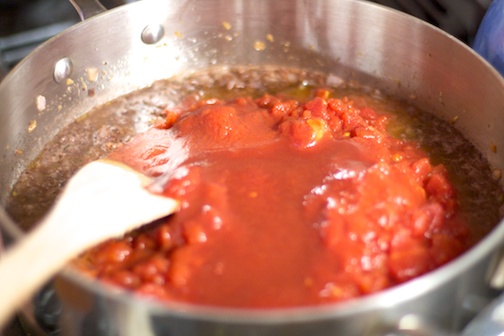
Now it’s time to add the tomatoes and all of their liquid.
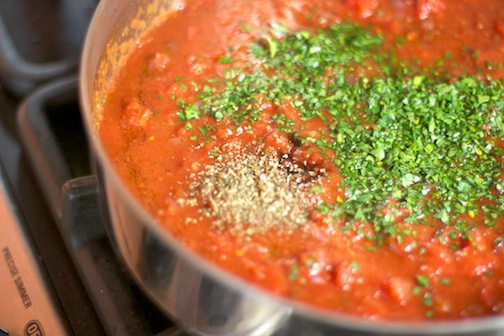
And it’s also time to add in the parsley, italian seasoning, salt and pepper and the dash of Worcestershire sauce.
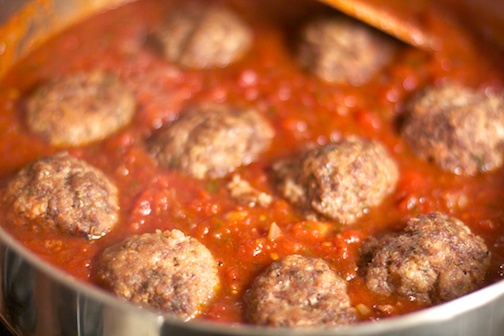
Let the sauce come together for 10 minutes or so, before adding the meatballs back in and cooking for another 10-20 minutes. The timing really depends on how quickly you want dinner on the table…as long as the meatballs are cooked through and warmed back up…you are good to go!
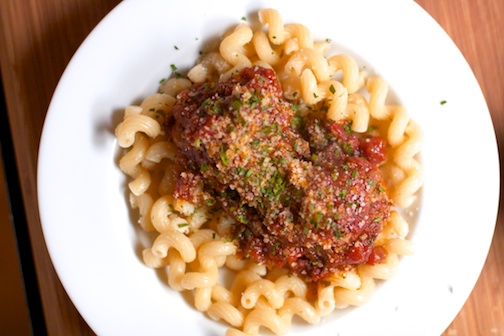
Serve over freshly cooked al dente cavatappi (we used De Cecco brand) and top with a sprinkling of fresh grated parmesan and some minced parsley. This goes amazingly well with a buttery slice of garlic bread! Just saying!
Buon Appetito!
(but seriously…am I alone in my lack of love for spaghetti…?)