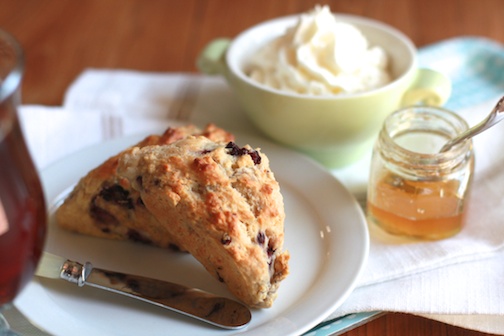
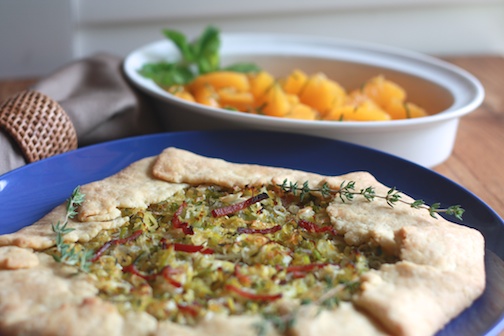
Apple Tart with Salted Caramel
My January was packed and I am just now getting a chance to feel that urge to get organized and start the new year off on the right foot! I cleared out my entire email inbox yesterday. I’m going to repeat that! I CLEARED OUT MY ENTIRE INBOX! The last time that happened was two years ago. So now, my inbox is nearly empty (less than 15 emails sitting in there just waiting to be archived), but it seems as though I’ve got some photos to sort through (yikes)! In my sorting and organizing, there are a couple of dishes that were ignored and never made it into a post, so this is a Throwback Dish – as in I cooked it sometime in the last year…and am just now getting around to posting it!
Deb over at Smitten Kitchen posted this last fall while I was visiting my brother and his family in Portland, OR…it was too much to resist! (disclosure – cell phone pics – please excuse!)
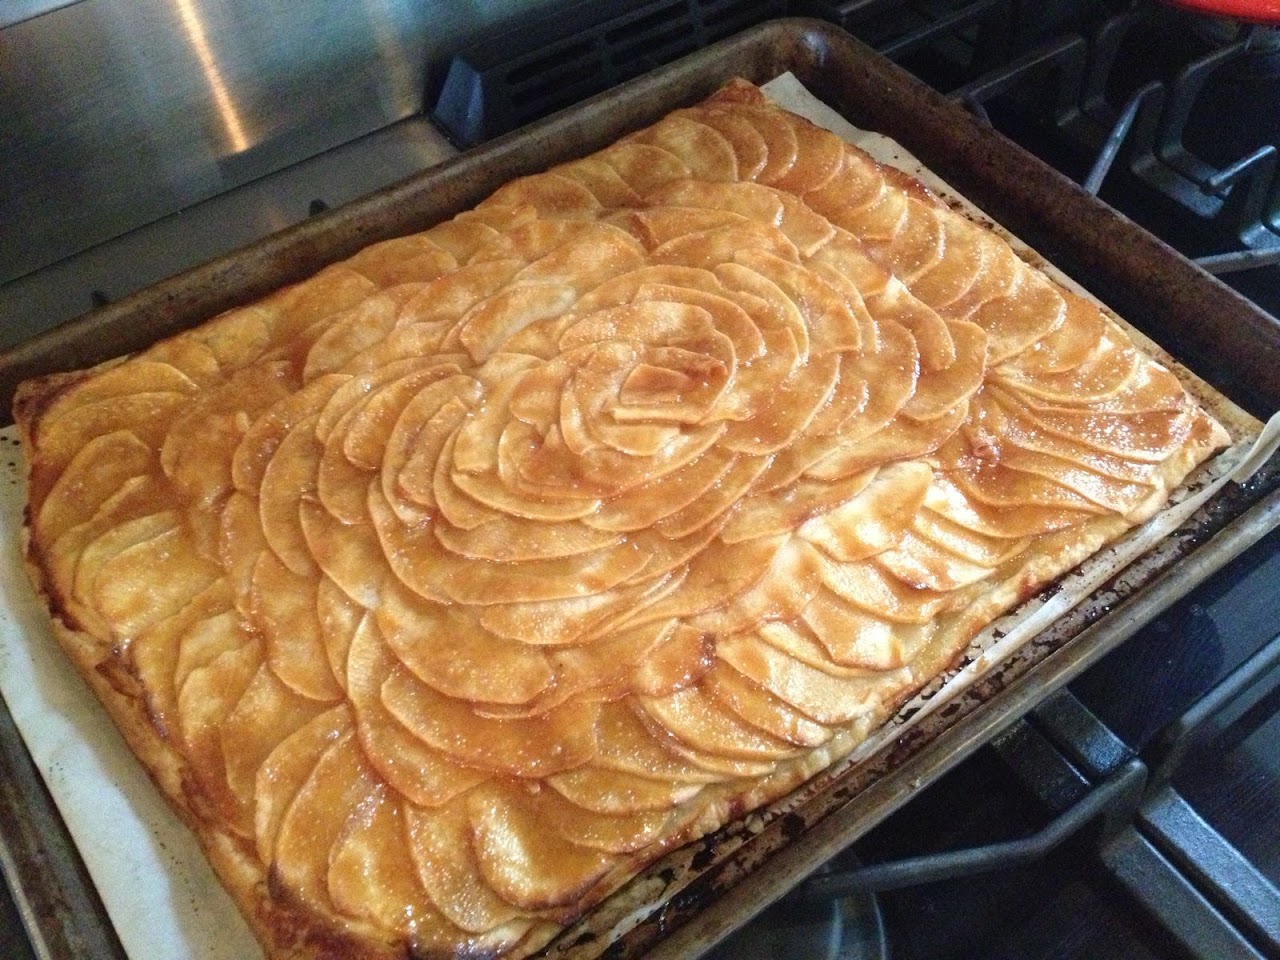
Mosaic Apple Tart with Salted Caramel
Tart base
14-ounce package puff pastry, defrosted in fridge overnight
3 large or 4 medium apples (about 1 1/4 pounds)
2 tablespoons granulated sugar
2 tablespoons unsalted butter, cold, cut into small bits
Salted caramel glaze
1/4 cup granulated sugar
2 tablespoons unsalted butter (or salted, but then ease up on the sea salt)
1/4 teaspoon flaky sea salt (or half as much table salt)
2 tablespoons heavy cream
Heat the oven to 400°F. Line a half sheet pan with parchment paper and roll out your puff pastry dough to about the size of your sheet pan, use flour to prevent the pasty from sticking to your counter.
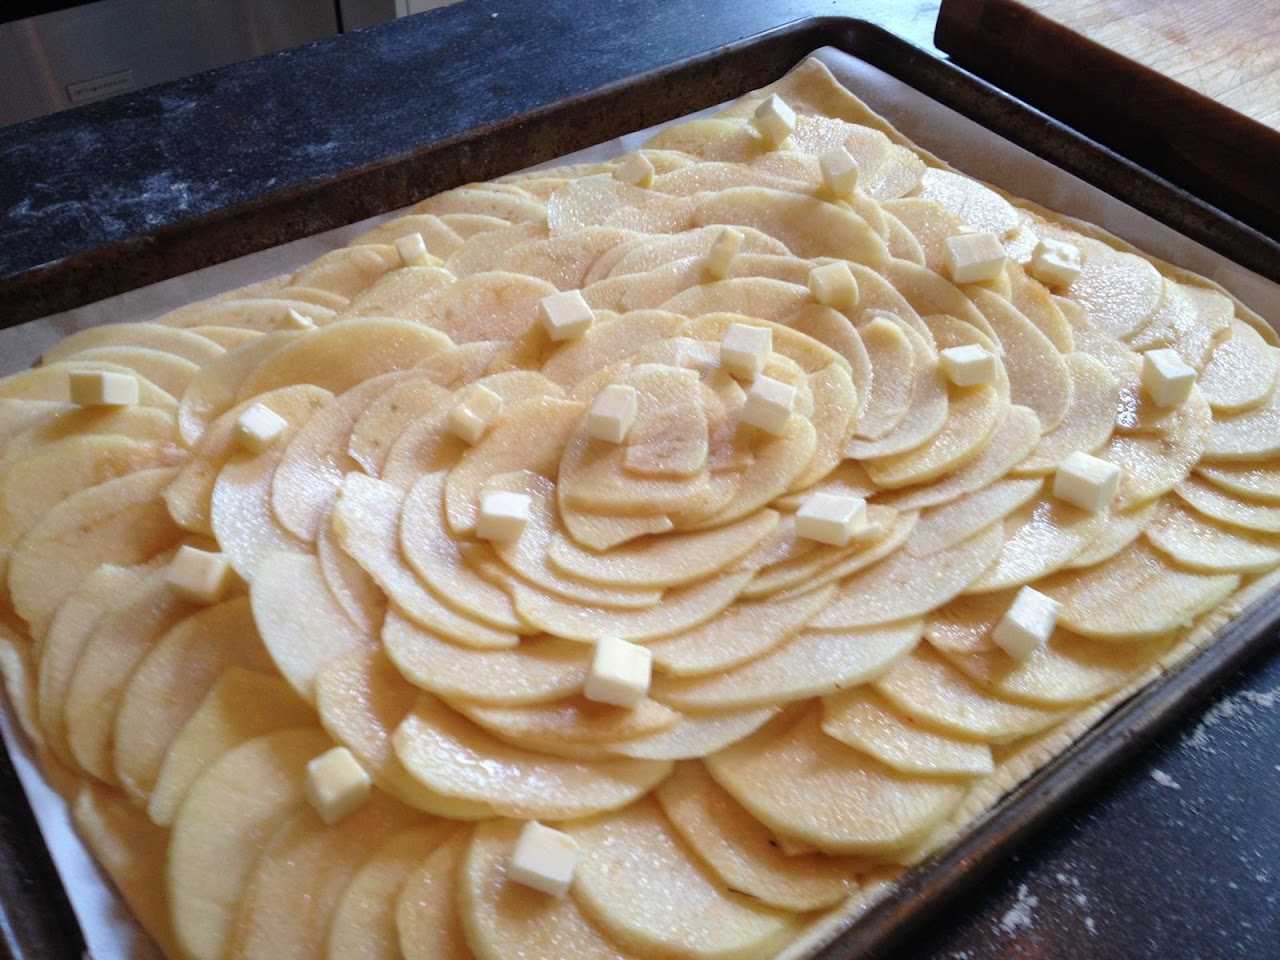
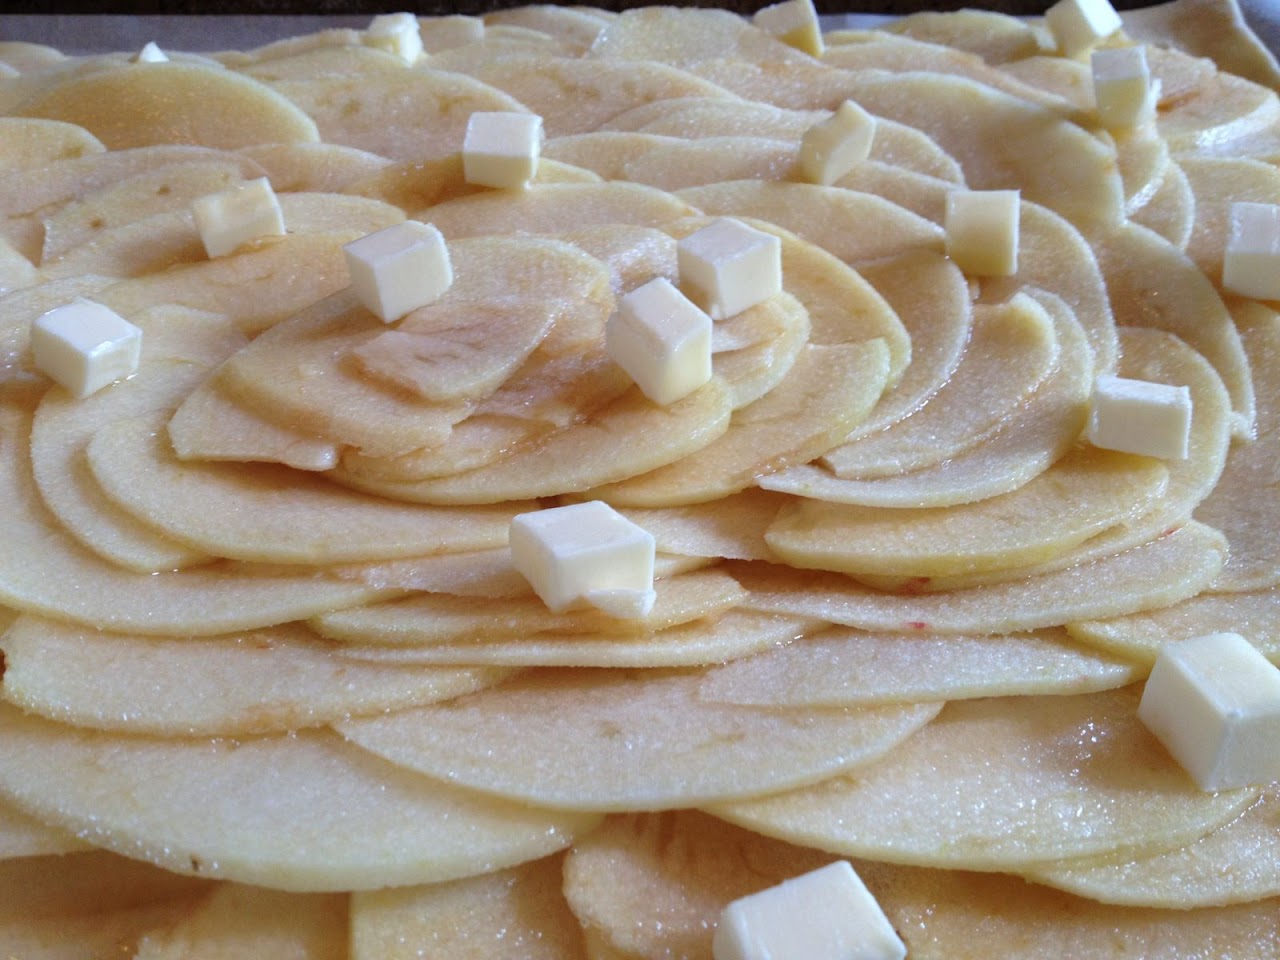
Peel your apples, core them and cut them in half. Slice the apple halves thinly…a mandoline makes quick work of this…or slice thinly with a knife. Now…the puzzle begins. Starting on the outer edge, lay the apples around the border slightly overlapping each other, spiraling inward until you reach the center. We didn’t fit every apple slice in after circling in, so we went around and tucked in the extra slices wherever the tart needed them. Sprinkle the apples with 2 tablespoons of butter and then dot with the butter.
Bake for 30 minutes, the edges of the tart should have started to brown a bit. The tart will look dry – don’t worry…you’re fixing this problem with the salted caramel!
About 10 minutes before the tart comes out of the oven, start the caramel. In a saucepan, melt 1/4 cup of sugar over medium high heat, continue cooking it until it is coppery in color.
Off the heat, add the sea salt and butter and stir until the butter melts and is incorporated. Add the heavy cream and return to the stove over medium heat. Cook, stirring constantly, until you have a lovely, bronzed caramel syrup, just another minute, two, tops. Set aside until needed. You may need to briefly rewarm it to thin the caramel before brushing it over the tart.
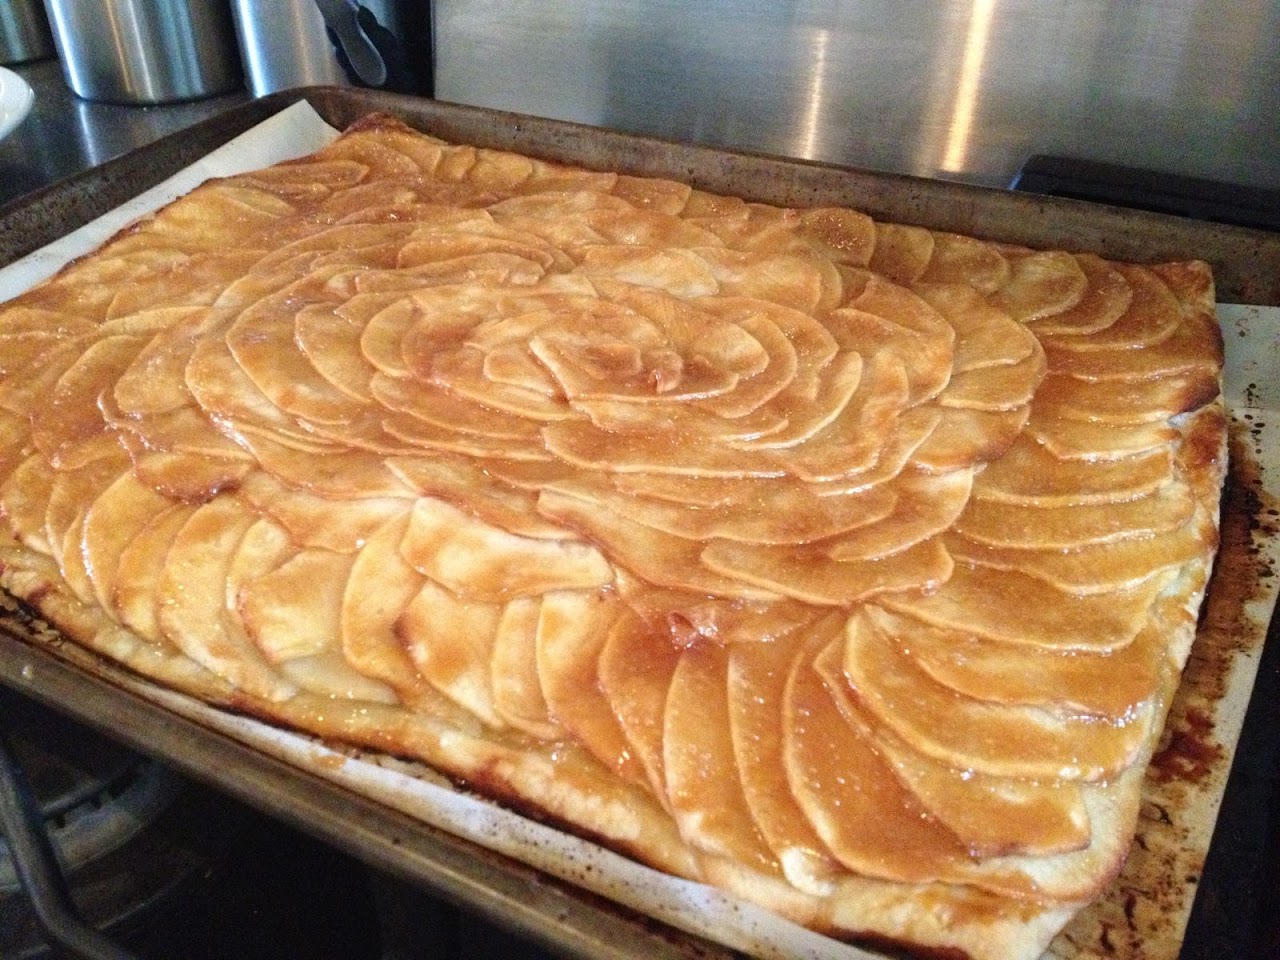
After the tart has baked, transfer it to a cooling rack, but leave the oven on. Using very short, gentle strokes, and brushing in the direction that the apples fan to mess up their design as little as possible, brush the entire tart, including the exposed pastry, with the salted caramel glaze.
Return the apple tart to the oven for 5 to 10 more minutes, until the caramel glaze bubbles. You should let the tart cool completely before serving…but I won’t tell! Serve it up plain or give it a scoop of ice cream or a dollop of whipped cream.
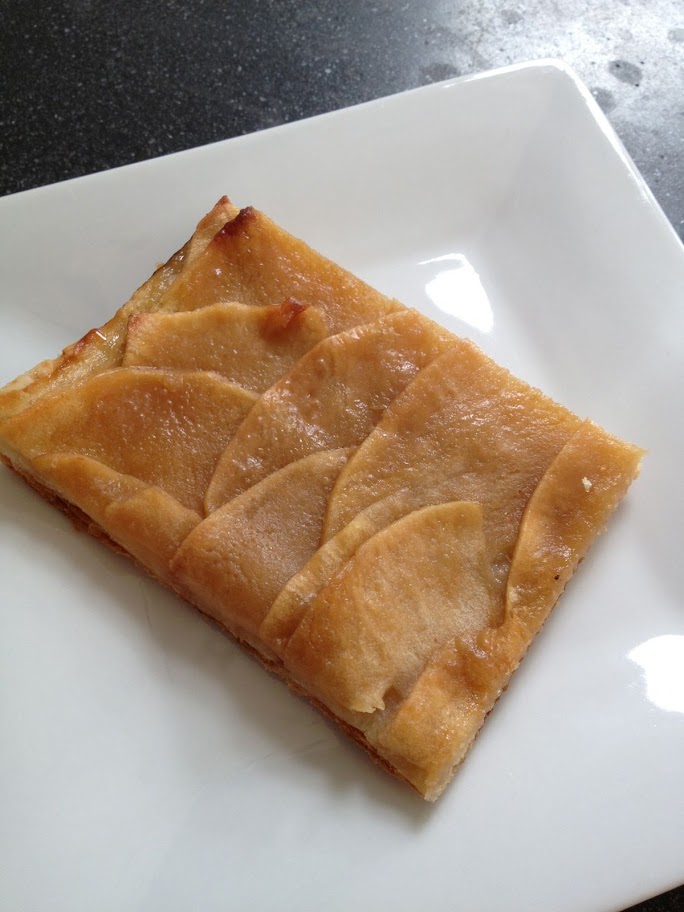
Very delicious right after it came out of the oven topped with the salted caramel sauce…but equally good the next day, and the day after as well. I may have had a slice whenever I walked through the kitchen. It also tasted even sweeter since I had some little hands helping me lay out all the apples thanks to my niece!